
Your Cart is Empty

How to Nail Your DTF Heat Pressing Every Time
Welcome to the wonderful world of Direct to Film (DTF) heat pressing! Whether you’re customizing cotton tees or slick polyester jerseys, this guide will make sure your designs come out flawless. Follow these 3 simple steps, and you’ll be a Heat Press Pro in no time!
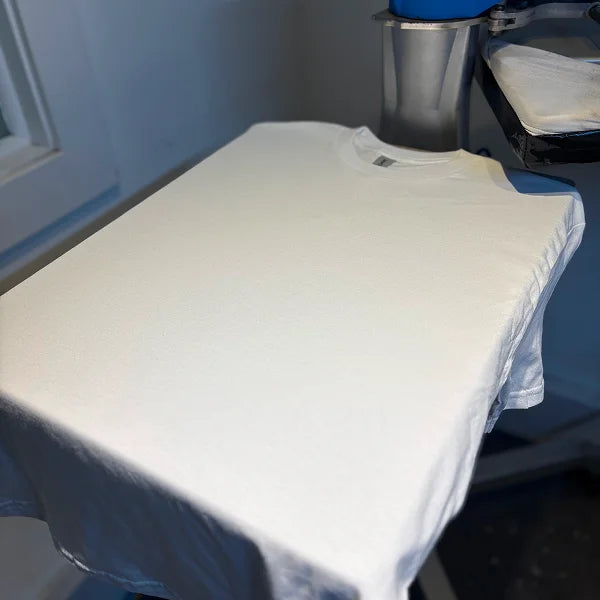
You’re going to want to make sure your garment is clean and free of any wrinkles or moisture.
Smooth surfaces give the best results, so a quick pre-press of 2-3 seconds can work wonders in getting things ready to go!
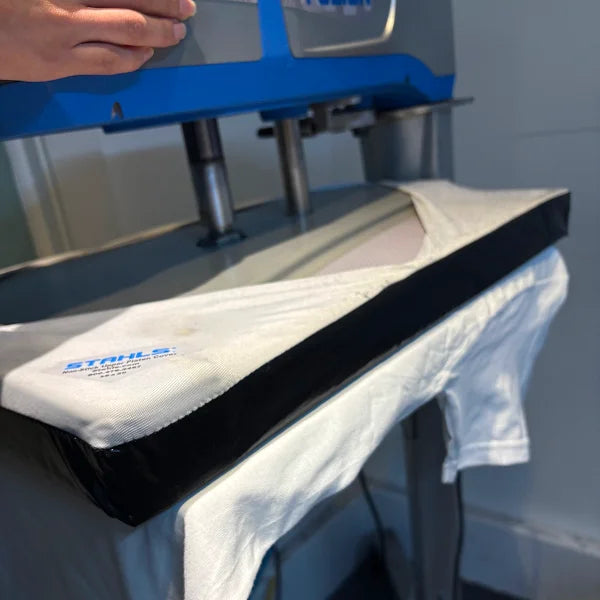
Your heat press should be set to 320°F (160°C). For pressure, aim for a solid 70 PSI – enough to ensure a proper transfer without being overly aggressive.
Timing is everything, so press your design for exactly 12 seconds. No more, no less!
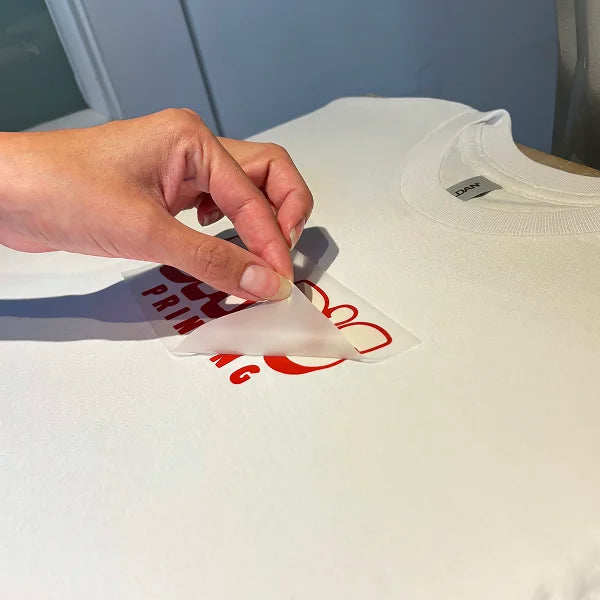
Once your press is complete, it’s time for the peel. Let your design cool down just a bit – not too hot, not too cold.
When it feels warm to the touch, carefully peel away the transfer film.
Afterwards, to lock in that design for good, give it a quick extra cure. Press the garment again for another 5 seconds, and voila – it’s good to go!
Whether you’re pressing a stack of cotton tees for a team event or making one-of-a-kind polyester jerseys for a hockey league, these instructions are your ticket to a professional-quality results.
Take your time, enjoy the process, and remember – every press is a chance to create something amazing!